
Building
Now that you have tested all of your parts and there is no problem, it is time for you to place your parts into the case. This is where the screwdriver comes into play, some cases already come with screws for each part but just be sure you have those extra screws in case you run out. This process is just like the testing process but this process consists of using a lot more force and wire management.
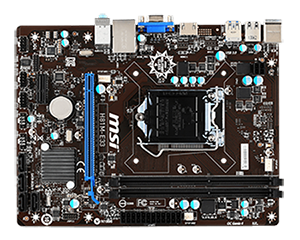
Step 1: Motherboard
|
 |
 |
 |
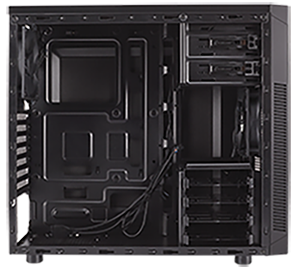
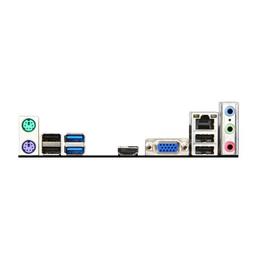
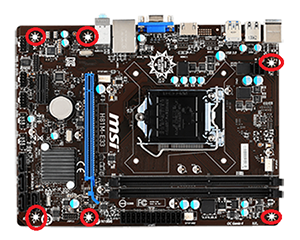
As shown above there is an area in the case that is dedicated to the Motherboard. To place it into this area be sure to align the port area of the Motherboard with the open slot of the case, this might take a bit of force to get in but once you hear a *Click* then the you are free to move on to the next step. Now notice on the Motherboard there are holes with markings, these marked areas are where the screws will be going. Now place the screws in the holes and tighten, move the Motherboard if you need to tighten more.
Step 2: Memory and Video Card
 |
 |
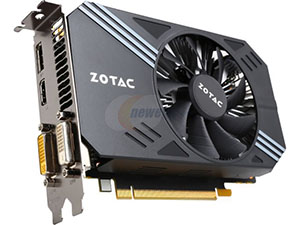 |
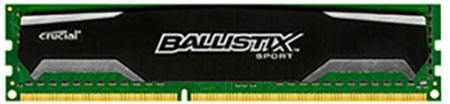
This doesn’t need that much explanation, if you have done the testing process then you already know where these parts go and how they are connected. Repeat the process from the testing page to do this step. The only difference is when you place the Video card in line it up with the side panel like you did with the Motherboard, you may need to remove a panel if there wasn't an opening already.
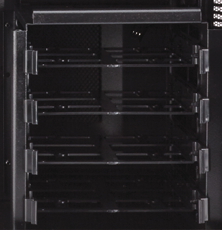
Step 3: Hard drive
 |
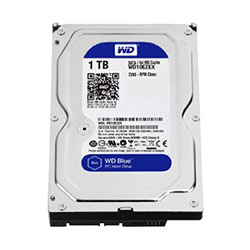 |
Place the Hard drive into the slot highlighted and slide the wires through the back of the case to get to the Motherboard and connect it to the area specified in the testing process.
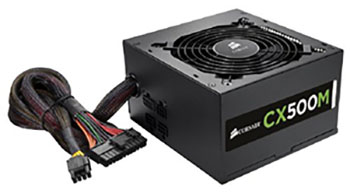
Step 4: Power Supply
 |
 |
 |
Place the Power Supply under the Motherboard and screw in to keep it in place. Now repeat what you did in the testing process and connect the power cables to the area specified in the testing process. Remember you will need to use a bit of force to get the cables plugged in.
Now that everything is in place your computer is ready for use, but before you can do that you need to manage all the wiring for the parts so the case can close easily and so it won’t look so cluttered inside. Here is a video on wire management to guide you in how you should go about managing the wires.