
Testing
Under the Motherboard there is a little pins which turns it on, it might be a little hard to find because the print is so small but once you find them bridge them with something small like a pin or edge on a pen. With the Motherboard on you are ready to start connecting parts for testing. Place your Motherboard on a surface where it can't conduct static or get damaged, the best place to use is the box it came in. Make sure you have a monitor or HDMI TV available for testing.
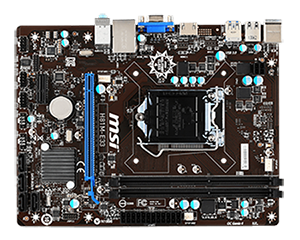
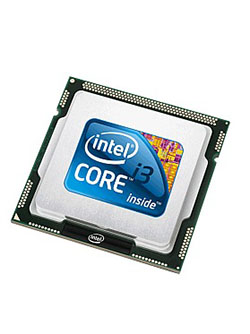
Step 1: Processor/CPU
 |
 |
 |
 |
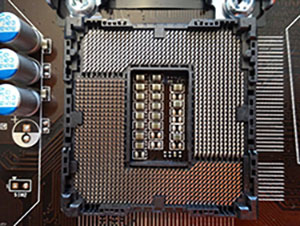
This will be the most crucial and stressful part of building, especially for beginners. On the bottom of the Processor there are small pins which line up with the Motherboard as shown above. Be extremely careful on how you place it in, if a pin were to bend then the Processor can’t function. Once it is in you can close the panel and place the fan on top so it would be able to keep it cool while it works.
The fan is then connected to the ports to the top right or left of the Processor.
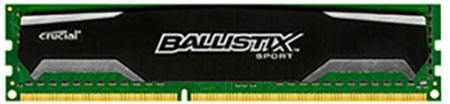
Step 2: Memory Card
|
 |
 |
As you notice there are these slots on the Motherboard. The Memory card just slides right in to that are with no problem. When you hear a *Click* then you know it is in. Depending on what Motherboard you buy will determine the amount of memory slots available.
Step 3: Video Card
|
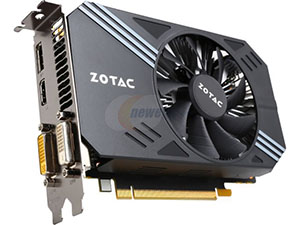 |
Just as the Memory card there is a slot in which this part would slide in and *Click*, if you notice at the bottom of the Video card how the connector is shaped and the shape of the slot. The only difference is the wires which connect to the Power Supply to be powered. You will notice the Video card is a bit wobbly but later on it will get the support it needs from the case itself, just be mindful of how loose it is for now. The power plug for the video card is different from the plug that will be plugged into the motherboard. The plugs for the video card has a six plus 2 connectors, while the cpu connector is four and four, try not to get the two confused.
Step 4: Hard Drive
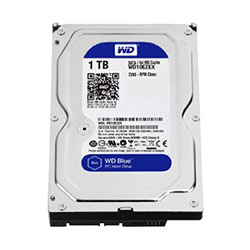
Set the Hard Drive to the side and connect it’s wires to the Motherboard, there will be a label called "storage" where you need to plug the Hard drive to.
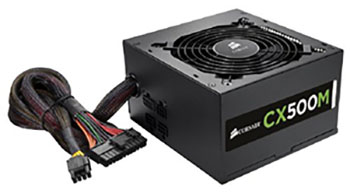
Step 5: Power Supply
 |
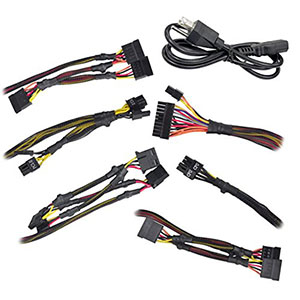 |
Set the Power Supply to the side for a bit, for testing you just need it to power everything up. The Power Supply comes with all the wires needed to power the Video card and CPU/Processor. Just as explained above don't get confused with the connectors. Plug the Power supply into the Motherboard in the area show above, the location of the port is usually neat the memory ports. Also plug the connectors to the Video card and CPU.
Once the Power Supply is turned on you will notice parts beginning to react. This is where you will look for issues. The most obvious would be the Motherboard, if nothing turns on at all then the Motherboard isn’t functioning. Now don’t jump to any conclusions yet maybe you didn’t hit the pin you meant to hit at the start, just go back and check, if nothing happens then the Motherboard is dead. Next comes the fans, such as the Processor fan and Video Card, if they aren’t moving then there is a problem. It’s not a big deal for the Processor but it is a big deal for the Video card, this means that the part is dead.
Now for the non-noticeable parts, on screen you will see the bios of the computer. You will notice tabs; these tabs show you what each part is doing at that moment in time. If you notice that there are parts doing zero activity, then that means that the part is dead or you might have connected it wrong so go back and double check.